Winter Camping: Essential Tips, Gear, And Safety Guide 2026
Winter camping looks harsh at first glance. Snow crunches under your boots. Your breath hangs in the air. The sun drops fast. Yet there is magic in it. The world grows quiet. The sky turns sharp and clear. You can hear snow fall from a fir branch a hundred feet away. With the right plan, this cold world feels kind and calm. You get warm by skill, not luck. You feel proud when you do it well. Winter camping is more than summer camping with more clothes. It is its own craft. This guide shows how to do it right.
We will keep things simple and clear. We will focus on real steps you can use. We will share tips that come from time in the cold. You will learn how to pick a campsite. You will learn about tents, bags, pads, and stoves. You will learn how to dress, eat, and stay dry. You will learn when to go, and when to turn back. When you finish, you can plan a safe, warm, and fun trip.
What Is Winter Camping, and Why Is It Different?
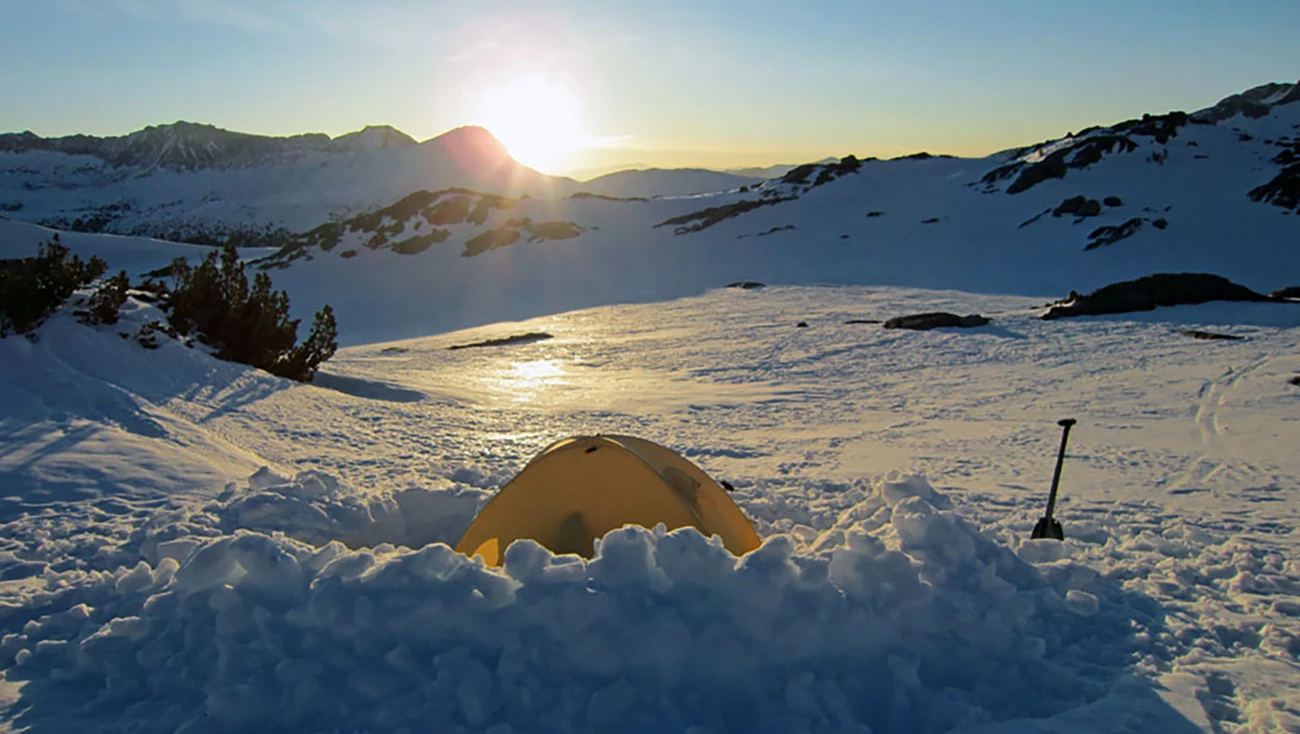
Winter camping means at least one night outdoors in cold, snowy, icy, or short-day light conditions. The big shift is not only the cold. It is moisture, wind, frozen gear, and slow cooking. It is snow that hides the ground. It is long nights and short days. It is a fast drop in temperature after sunset. Good prep will make that drop feel easy. Poor prep will make it hard.
Source: wisconsin.gov
Winter camping vs. cold-weather camping vs. snow camping
These terms overlap a lot. Winter camping often means trips between late fall and early spring. Cold-weather camping can happen in any season at high altitudes or in cold snaps. Snow camping is a subset where you camp on or in snow. Winter conditions can exist without snow. You can face freezing temps, ice, wind, and very short days without any flakes on the ground. Cold-weather camping is the broad idea. Winter camping sits inside that, and snow camping sits inside winter camping.
- Winter camping: One or more nights with winter-like conditions.
- Cold-weather camping: Any trip in cold temps, even if it is not winter.
- Snow camping: Sleeping on snow or in snow shelters.
- Key point: The same gear may work for all, but the plan changes with snow and wind.
Why winter camping feels harder than summer camping
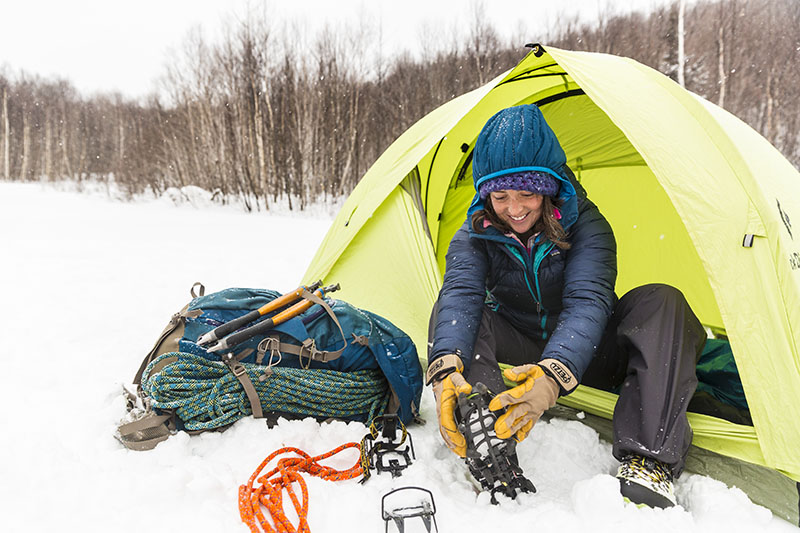
Winter multiplies small issues. A wet glove matters more. A late camp setup hurts more. You move slower. You eat more. You must think two steps ahead.
Source: outdoors.org
- Shorter daylight hours mean less time to set up and cook.
- Colder mornings slow you down and stress your hands.
- Water freezes in bottles and hoses.
- Clothing choices matter. Sweat turns to chill fast.
- Stoves can sputter. Fuel can run low. Cooking takes longer.
- Wet gear is a big problem. It dries slowly in cold air.
- You spend more time in the tent. Space and airflow count.
Who should try winter camping?
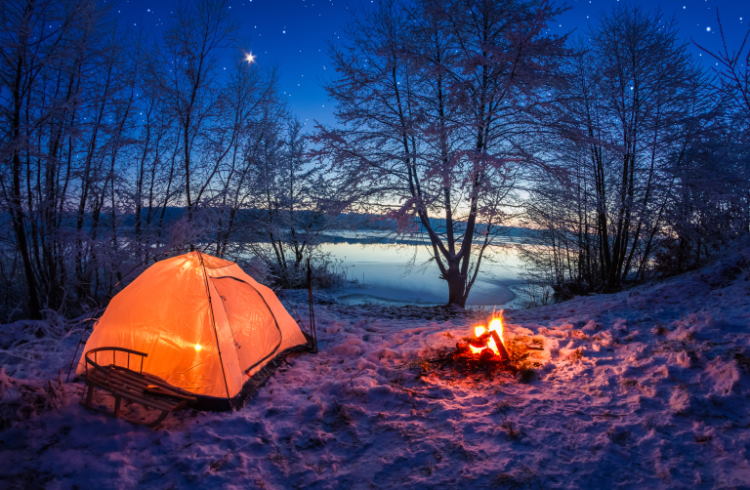
Winter camping is for many people, not just pros. Start small. Build skills. Then go bigger.
Source: worldnomads.com
- Beginners in mild winter areas can use car-access campgrounds. Test gear near help.
- Three-season campers can add snow skills step by step.
- Backpackers with some winter travel practice can push deeper.
- People with no cold gear or skills should wait on remote trips. Learn first.
- If you have health issues or poor circulation, start gently and go with partners.
The appeal of winter camping
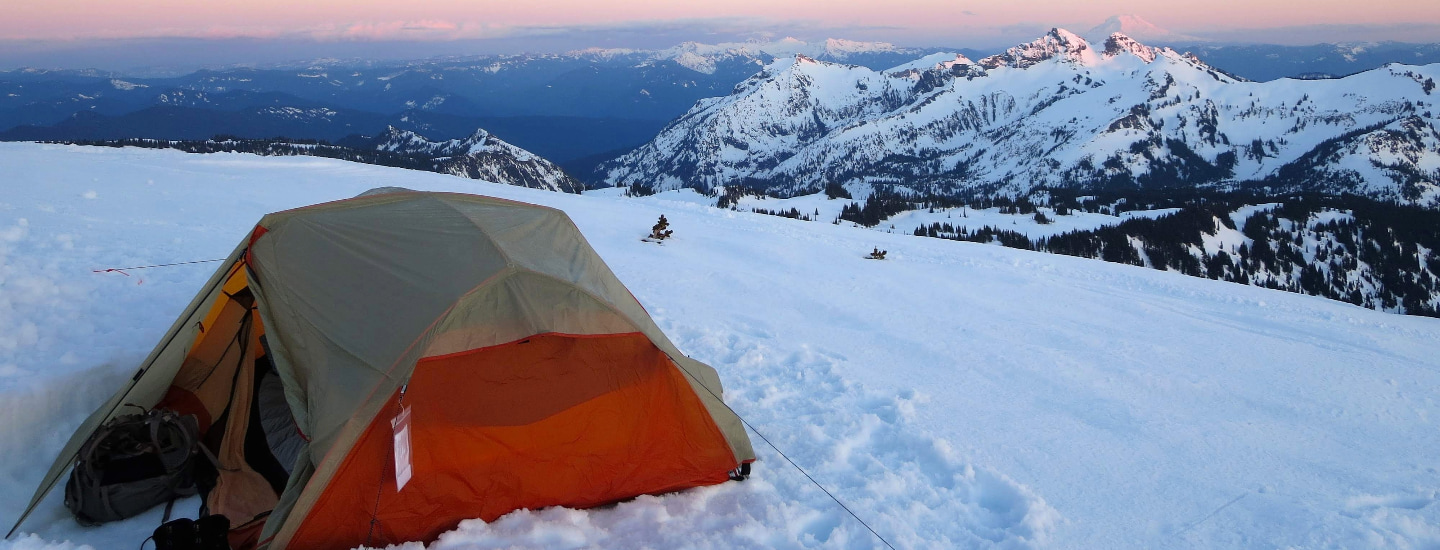
Winter camping gives rare gifts. Peace. Space. Beauty. Pride. It is hard to explain until you feel it.
Source: wnpf.org
- Quiet trails and empty camps.
- Snow-covered peaks and forests.
- Crisp air and glittering nights.
- Clear stars that feel close enough to touch.
- The sweet joy of sliding into a warm sleeping bag after a cold day.
How Cold Is Too Cold for Winter Camping?
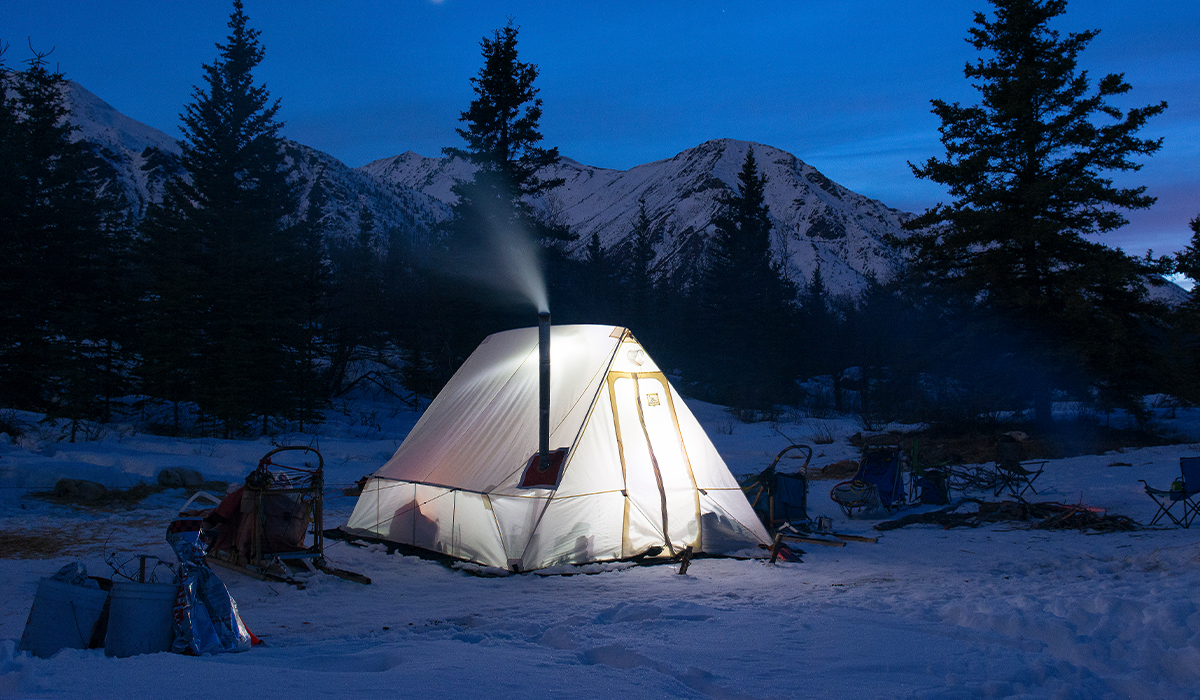
There is no single safe number for everyone. Your gear, skills, and mind all change the line. A clear, dry night at 20°F (-7°C) can be fine with the right system. A wet, windy night at 32°F (0°C) can be grim. Look at the whole picture. Check temp, wind, snow, rain, and exposure. Plan for change. Cold can turn sharp after the sun drops.
Source: travelyukon.com
Understand temperature, wind chill, and exposure
Air temp is only part of the story. Wind steals heat. Moist air cuts deep. Open camps feel colder than sheltered ones. Weather can swing fast in winter.

Source: mountainphotography.com
- Air temperature: The base number you see in the forecast.
- Wind chill: The “feels like” temp due to wind. It speeds heat loss.
- Exposure: Ridges, lakes, and open flats feel colder than forests.
- Humidity and precip: Wet snow and sleet soak layers and drop body heat.
- Change: Cold fronts and clear skies can drop temps fast after dark.
Match the trip to your experience
Shape the plan to your skills and comfort. Work up in steps. Each step teaches you a lot.
- Easy campground night: Park near a site. Try winter gear with a bail-out.
- Short overnight near a road: Hike a mile or two. Keep an exit easy.
- Snowshoe-access backcountry: Go in a few miles on a clear route.
- Remote winter backpacking: Only with strong skills and a full kit.
- Winter mountaineering: A separate skill set with new hazards. Train first.
Know the signs that conditions are beyond your plan
Your body and mind will tell you when things are off. Listen early. Pride does not keep you warm.
- Persistent shivering that does not stop with layers and movement.
- Numbness in fingers, toes, ears, or nose.
- Confusion, slurred speech, or poor decisions.
- Loss of fine motor control. You fumble zips and knots.
- Wet clothing you cannot get dry.
- A storm forms or winds rise beyond forecast.
Build an exit plan before leaving
Plan your out before you go in. This reduces stress when things shift.
- Know the nearest road, trailhead, or hut.
- Carry a small emergency shelter like a bivy or group tarp.
- Consider backup transport like a friend on call or a shuttle.
- Learn where cell coverage is likely. Do not rely on it.
- Mark safe weather exits on the map.
- Tell a trusted person your route and return time.
How Do You Choose a Winter Campsite?
A good winter campsite is safe and calm. It is not always the best view. Pick shelter over views when wind and snow blow. Check ground hazards. Scan for avalanche risk. Look up for dead limbs and cornices. Check the place before dark if you can. After a day in deep snow, a flat spot feels like gold. Do not leave camp choice to the last light.
Look for natural protection from wind
Wind management is the heart of winter comfort. Use terrain and trees to your favor.
- Camp on the leeward side of ridges or hills.
- Tuck into dense, healthy tree stands when safe and allowed.
- Avoid saddles where wind can funnel.
- Stay out of open flats where snow drifts bury tents.
Avoid avalanche terrain
Avalanches are not a gear problem. They are a terrain and decision problem. Learn to read the land and the forecast.
- Check if your route or camp is in or near avalanche paths.
- Know slope angles. Most slab avalanches occur on 30–45° slopes.
- Read daily avalanche bulletins for danger ratings and problems.
- Carry avalanche gear and training for serious terrain.
- If you do not have both, stay out of avalanche zones.
Watch for overhead hazards
Gravity does not sleep in winter. Snow and ice move and fall. So do dead limbs in wind.
- Avoid dead branches (widowmakers) that may fall under snow load.
- Do not camp under heavy, snow-loaded trees.
- Steer clear of cornices on ridgelines.
- In freeze-thaw areas, watch for falling ice or loose rock.
Prepare the snow surface
A stable base helps your tent last the night. Snow needs time to set.
- Stomp a tent pad with boots or snowshoes to pack snow.
- Let it set for 10–30 minutes before you pitch if you can.
- Clear sharp ice chunks and hidden branches.
- Build a small kitchen area with a stable stove platform.
Consider drainage and melting snow
Water moves even in winter. Think about where it will go when temps rise.
- Avoid low spots where meltwater can pool.
- Be cautious near frozen lakes and rivers. Ice thickness varies.
- Never trust ice because you saw tracks. Confirm safety by local info or tools.
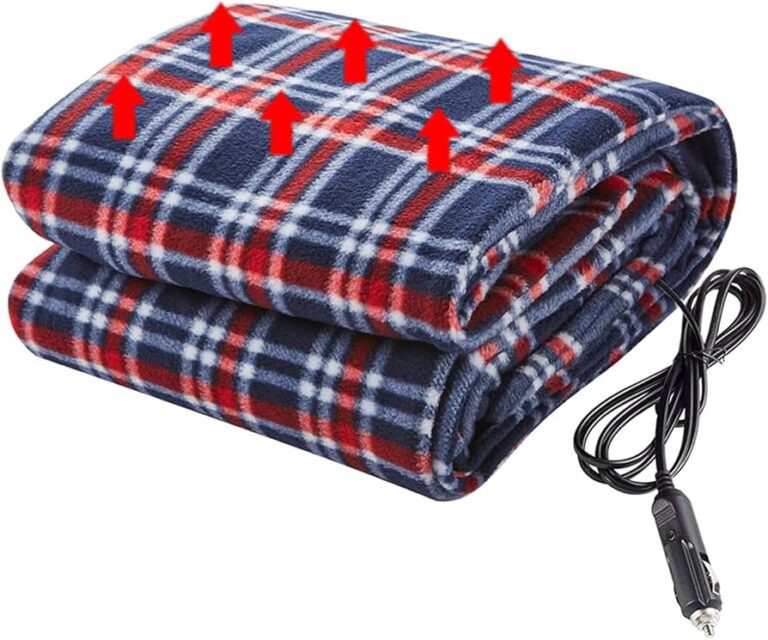
Are 12V Electric Blankets Any Good?: Pros, Cons & Picks
What Tent Do You Need for Winter Camping?
Choose a winter tent that fits the trip. Wind and snow load matter most. Four-season tents have stronger poles, less mesh, and better snow protection. But a tent alone does not make you safe. Site choice, venting, sleeping insulation, and weather judgment are just as key. A sound plan adds as much warmth as a thick wall.
Three-season tent vs. four-season tent
Three-season tents are light and airy. They shine in mild weather. Four-season tents are strong and sealed. They stand up to wind and snow.
- Structure: Four-season tents use beefier poles and more crossing points.
- Snow load: Four-season models hold more snow and shed it better.
- Ventilation: Three-season tents have more mesh. Four-season tents manage blowing snow.
- Use case: A stout three-season tent can work in mild, dry winter. Add strong guy lines and good site choice.
Freestanding vs. non-freestanding shelters
Snow changes how you pitch and anchor a shelter. Freestanding tents are often easier on snow.
- Setup: Freestanding tents hold shape without stakes. Helpful in deep snow.
- Anchoring: Snow stakes, deadmen, and buried stuff sacks work for both types.
- Weight: Non-freestanding shelters can be lighter but need careful pitch.
- Wind: Solid structure and tight guying matter more than the label.
Tent features that matter in winter
Look for strength, space, and smart vents. These features ease cold nights.
- Strong, high-quality poles and hubs.
- Full-coverage fly to block wind and spindrift.
- Snow skirts or low flies help in blowing snow (use with care for venting).
- Interior space for wide winter sleeping bags and extra layers.
- Big vestibules for boots and cooking in emergencies.
- Multiple vents to fight condensation.
- Durable zippers that will not jam with ice.
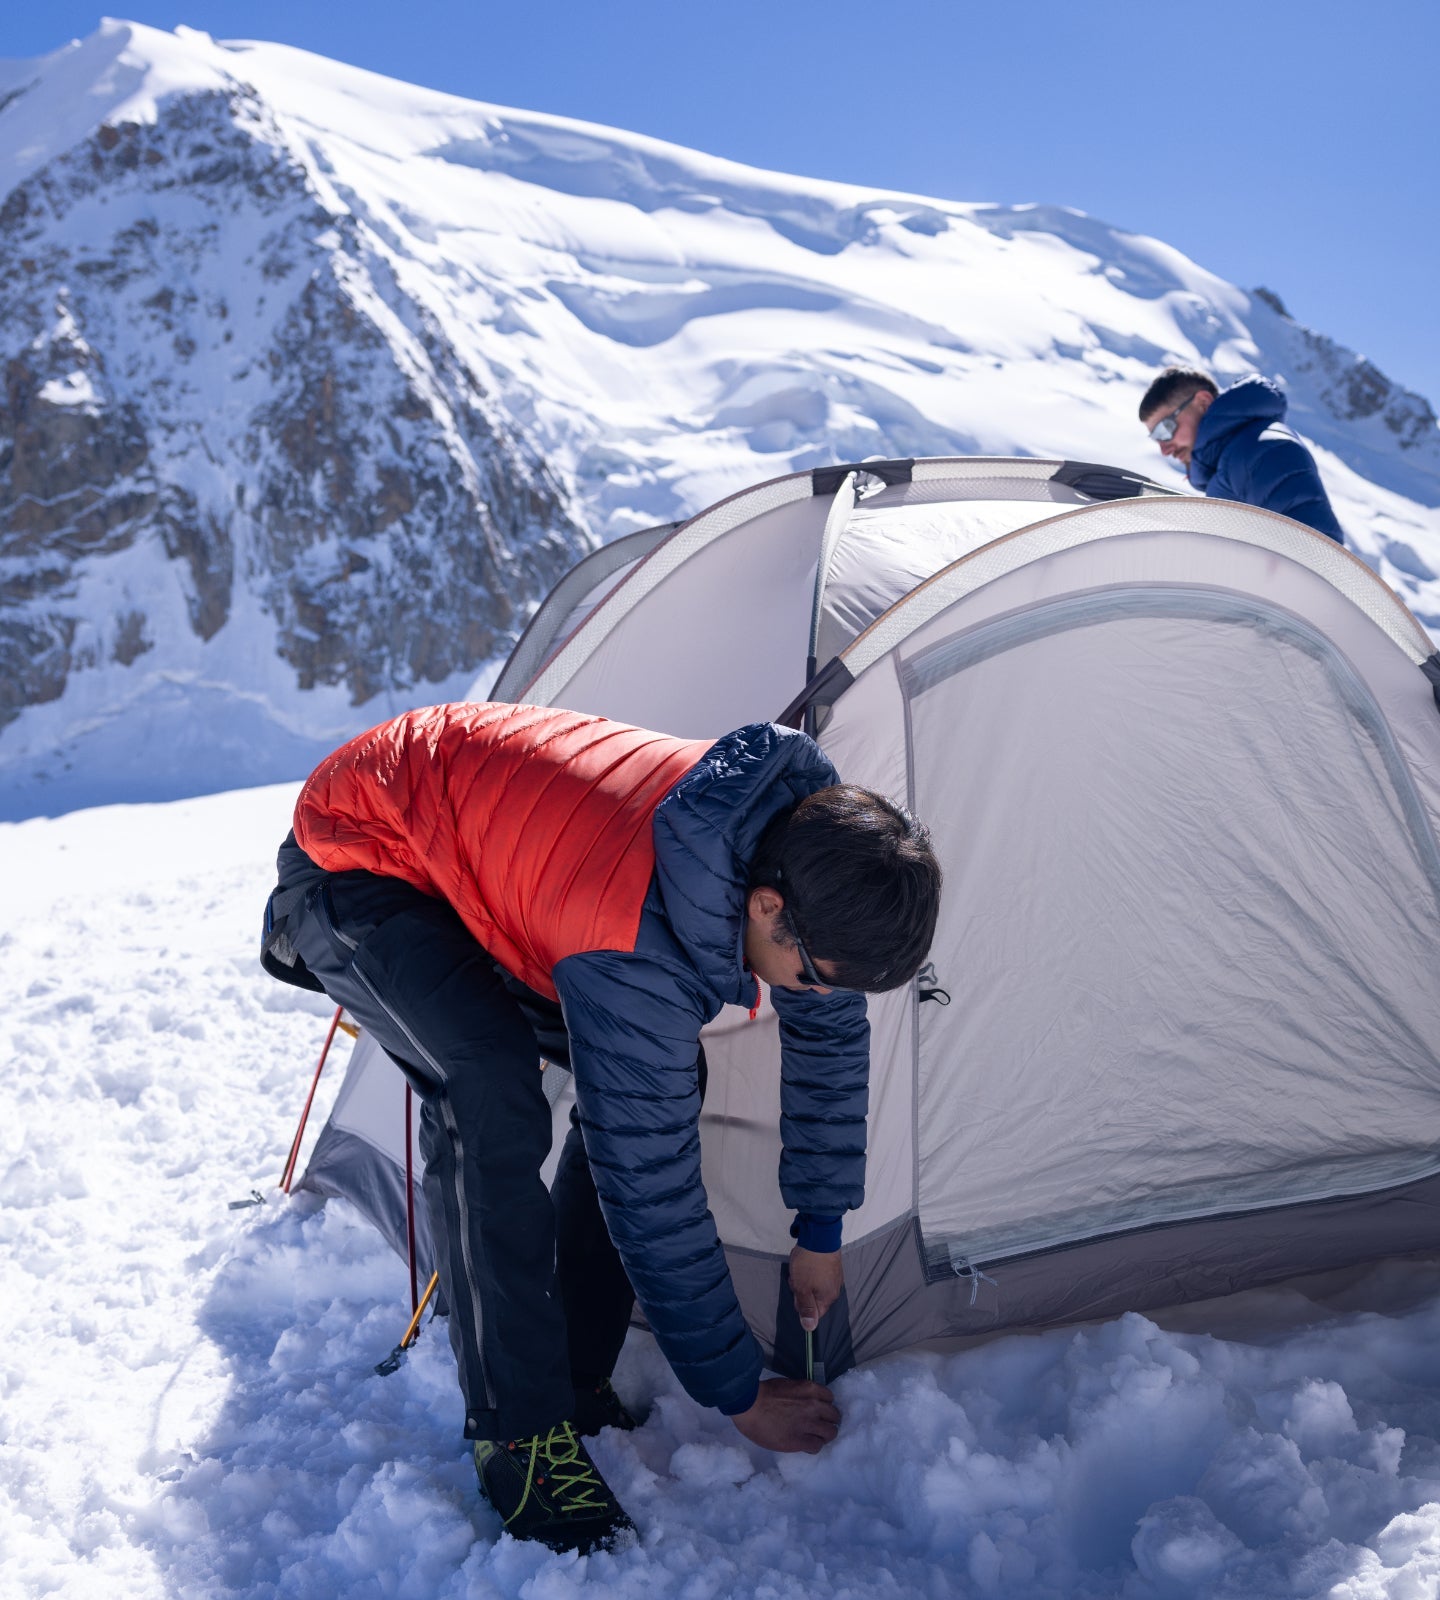
How to pitch a winter tent
A strong pitch beats a strong tent with a lazy setup. Take time to do it right.
- Pick a safe, sheltered site.
- Pack the snow pad and let it set.
- Lay out the tent and align the door away from the wind.
- Use snow stakes or buried anchors. Tighten guy lines.
- Keep vents open enough to move moist air.
- Recheck lines after the first hour and after snowfall.
Winter tent condensation
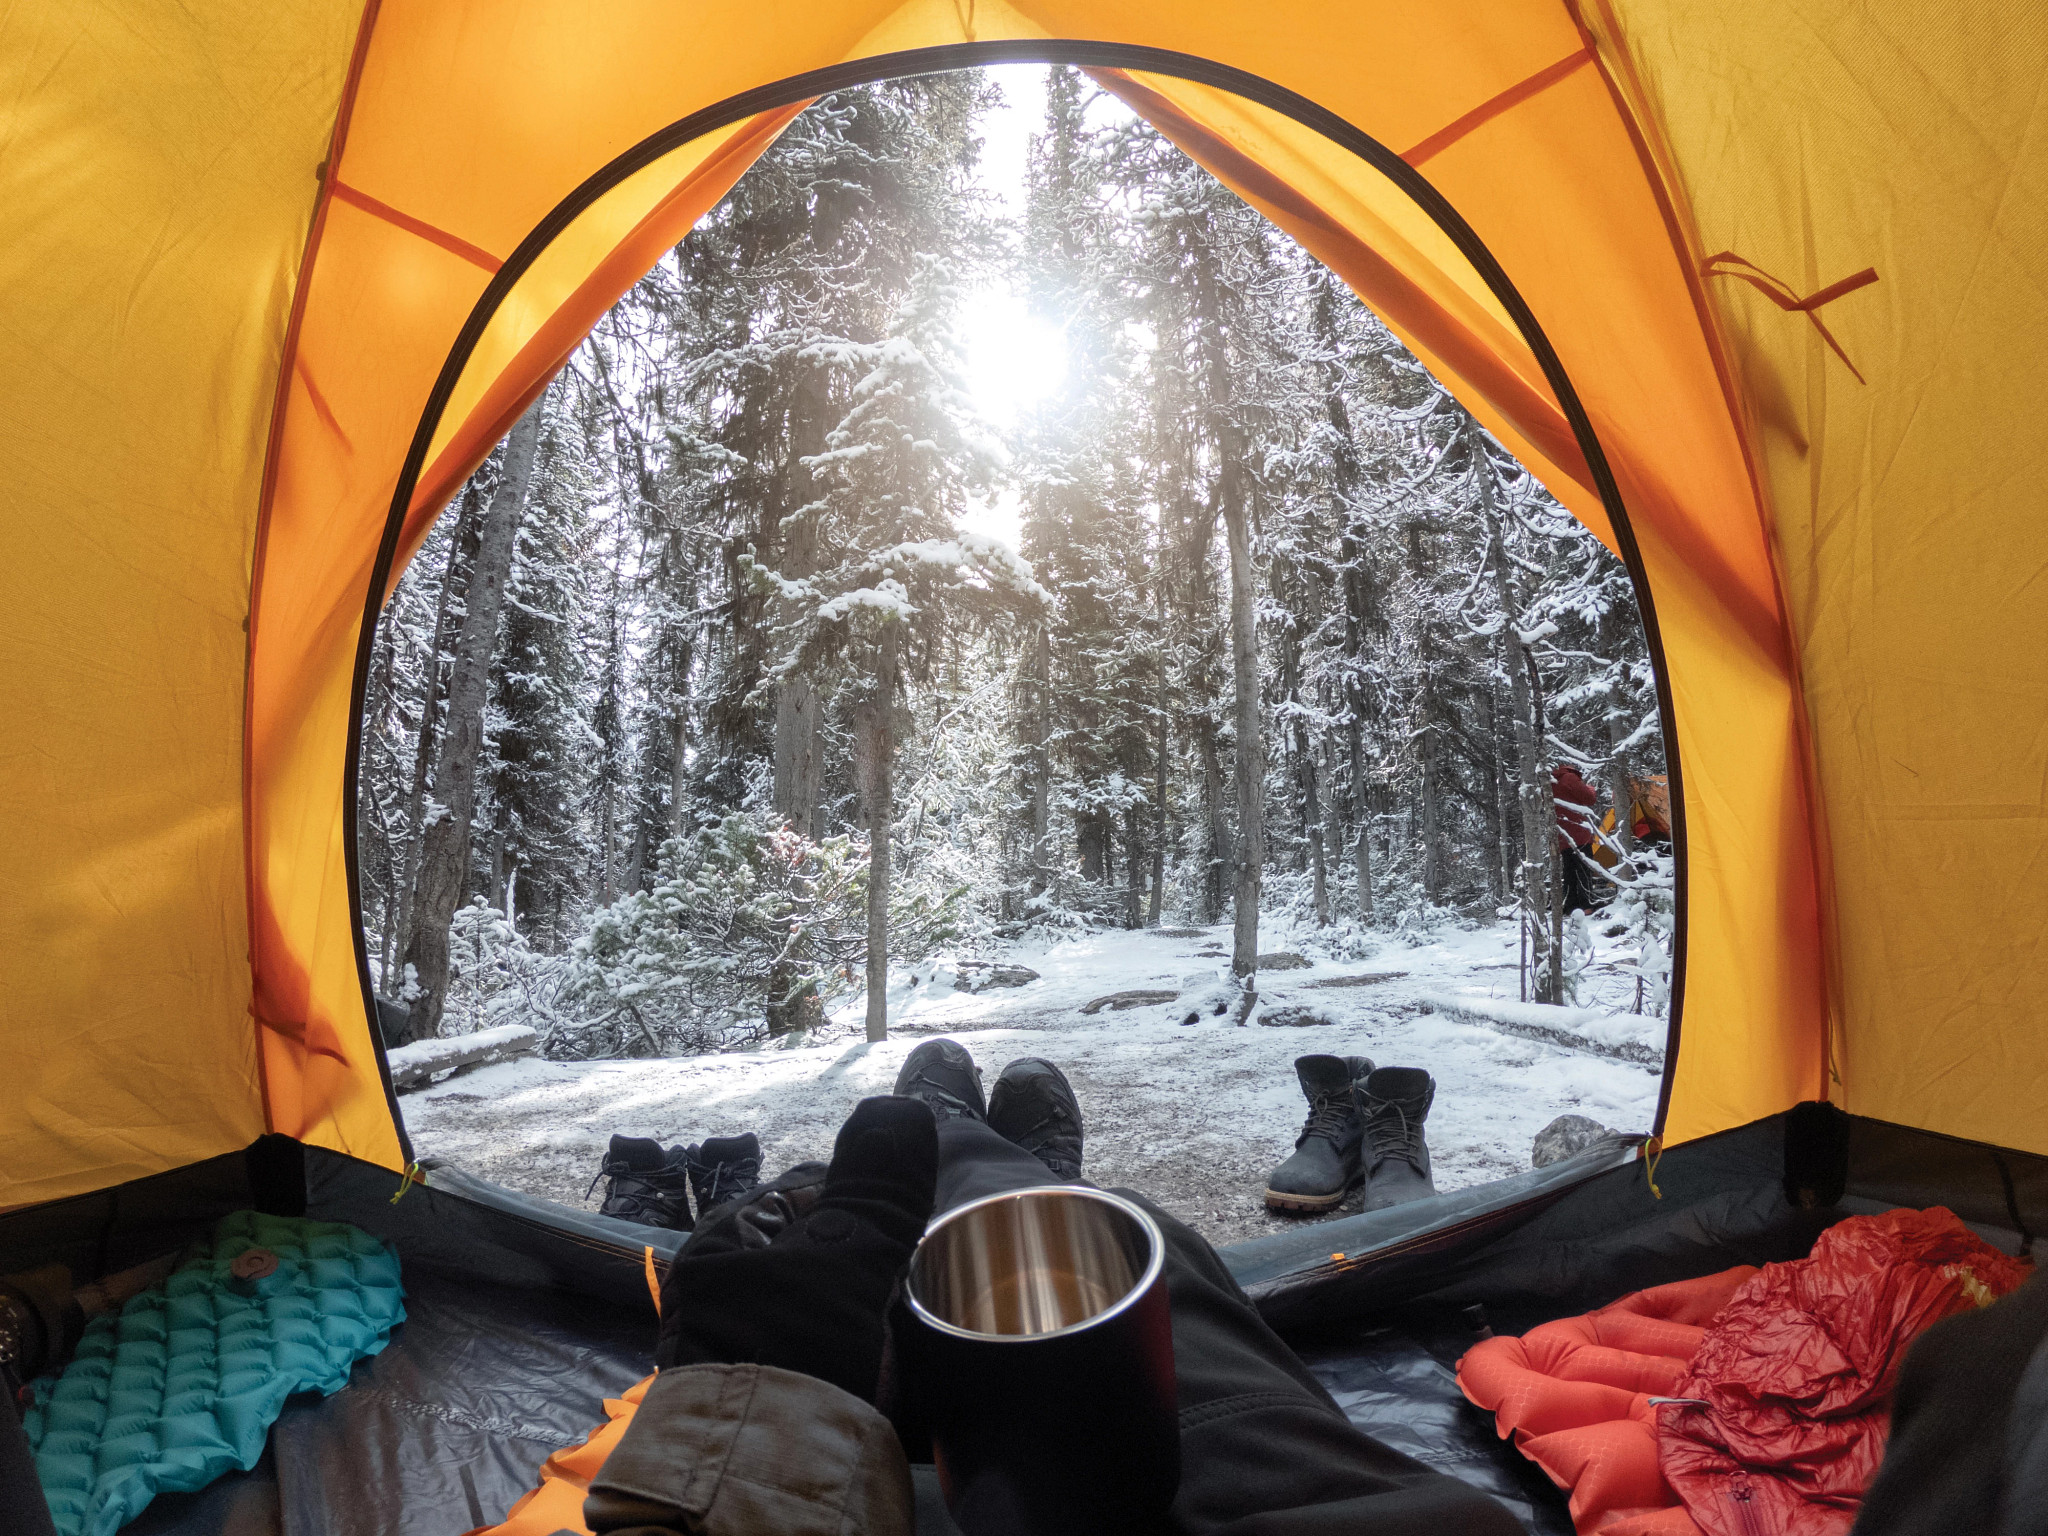
Your breath creates water. That water must go somewhere. If you seal the tent, it will freeze inside. Venting matters.
- Keep vents open when safe. Warm air holds moisture. Cold air carries it out.
- Keep wet clothes and boots out of your sleeping bag.
- Shake frost off tent walls in the morning before it melts.
- Do not shut every vent just to “feel warm.” Moisture hurts warmth more.
What Sleeping Bag and Sleeping Pad Do You Need?
Your sleeping system is your night shield. The ground will steal heat all night if you let it. Pair a warm sleeping bag with a high R-value pad. A great bag on a weak pad still leads to a shivery 2 a.m. wake-up. Plan your whole system, not just one piece.
Understand sleeping bag temperature ratings
Ratings can confuse new campers. Think of them as guides, not promises.
- Comfort rating: A temp most cold sleepers will find comfy.
- Lower-limit rating: A temp most warm sleepers can handle in a tucked position.
- Extreme rating: A survival number. Not a target.
- Your real warmth depends on layers, metabolism, pad, tent, wind, and food.
- If unsure, pick a warmer rating or add a liner.
4 Best Battery Operated Heated Blanket: Expert Tested
Down vs. synthetic sleeping bags
Both can work great. The right pick depends on the trip and your budget.
- Weight: Down is lighter for the same warmth.
- Packability: Down compresses smaller.
- Moisture: Synthetic keeps more warmth when damp.
- Drying: Down dries slowly and can clump. Synthetic is easier to dry.
- Cost: Down can be more expensive.
- Choice: For dry cold, down shines. For wet snow or hut-to-hut with damp risk, synthetic is safer.
How sleeping pad R-value works
R-value shows how well a pad stops heat loss to the ground. Higher is warmer. Thickness is not the whole story. The material and design matter too.
- For true winter, aim for a total R-value around 4.5–6+.
- Closed-cell foam under an inflatable adds warmth and puncture safety.
- Two pads combine R-values. Foam (R 2) + inflatable (R 4) ≈ R 6.
- On snow or ice, high R-values matter a lot.
Improve your sleeping setup
Small habits make big warmth gains. Think dry, lofted, and fed.
- Change into dry base layers for sleep.
- Wear a warm hat if your bag has no snug hood.
- Use a hot-water bottle in a sock near your core or feet. Test for leaks.
- Fluff your bag to restore loft before bed.
- Do not stuff wet gear in your bag. It steals heat.
- Eat a warm, fatty snack 30–60 minutes before sleep.
What Should You Wear for Winter Camping?
The best winter clothing system manages sweat and traps heat. Do not rely on one giant coat. Layer so you can fine-tune. Start a climb a bit cool. Peel a layer before you sweat. Add a warm puffy the moment you stop. Warm comes from smart timing as much as warm gear.
Base layer
This is the layer on your skin. Its job is to move sweat away.
- Merino wool feels soft and fights odor. It insulates when damp.
- Synthetic fabrics dry fast and cost less.
- Avoid cotton. It holds water and chills you.
- Pick weights for the trip: light for high output, mid/heavy for lower output.
Mid layer
Your mid layer traps heat. It can be fleece, synthetic puffy, or down in dry cold.
- Fleece breathes and works well for steady movement.
- Synthetic insulated jackets warm when still and handle some moisture.
- Down mid layers are great in cold, dry air. Keep them dry.
- Choose warmth to match your pace and weather.
Outer shell
Your shell blocks wind and snow. It must breathe enough to vent sweat.
- A waterproof-breathable shell helps in snow and wet sleet.
- A windproof softshell can be fine in cold, dry air.
- Pit zips and venting help control moisture.
- Make sure the hood fits over hats and helmets.
Winter hands
Hands do lots of work. Keep them warm, dry, and ready.
- Light liner gloves for hiking and fiddly tasks.
- Insulated gloves or mittens for camp and low-activity time.
- Carry spare dry pairs in a zip bag.
- Avoid bare-skin contact with cold metal, fuel cans, and stove parts.
Winter feet
Your feet face cold, snow, and sweat. Manage all three.
- Wear insulated, waterproof winter boots with room for thick socks.
- Use wool or synthetic socks. Bring spares.
- Do not over-tighten boots. Tight boots cut blood flow and make feet cold.
- Use vapor barrier liners in very cold temps if you know how.
Head and face
You lose heat fast from an uncovered head and neck. Protect eyes in snow glare.
- A warm hat that covers ears.
- A neck gaiter or buff to seal drafts.
- A balaclava for wind or very cold nights.
- Sunglasses or goggles with UV protection for bright snow.
How Do You Keep Warm While Winter Camping?
Warmth comes from a cycle of habits. Eat enough. Dress smart. Stay dry. Insulate from the ground. Do not wait until you are cold to act. Once you are shivering, you must work harder to recover. Be proactive.
Eat for warmth and energy
Food is fuel. Fuel is heat. Your body can be a furnace if you feed it well.
- Eat often. Aim for steady calories all day.
- Carbs give quick energy for movement.
- Fats give long, slow energy for the night.
- Drink warm liquids. Hot soup and cocoa boost morale.
- Keep snacks in your jacket pocket so they do not freeze.
Stay dry
Moisture is the enemy in winter. Manage sweat and snow at every step.
- Strip a layer before you start a big climb.
- Wear a shell to block wet snow and wind.
- Keep a dry “sleeping kit” of base layers in a dry bag.
- Dry damp items in the sun or with body heat when safe.
Use movement strategically
Move to make heat when needed, but do not soak your layers before bed.
- Do easy laps around camp if you feel cold.
- Avoid a hard push right before sleep.
- Do a few light squats or lunges, then slide into your bag.
- Keep blood flowing to hands and feet with gentle movement.
Use a hot-water bottle safely
A hot-water bottle can be a joy on a cold night. Use it with care.
- Fill with hot (not boiling) water rated for the bottle.
- Check the lid and seal. Wrap it in a sock or cloth.
- Place near your core or at feet, not next to bare skin.
- Do not use improvised bottles that can leak.
Common mistakes that make campers colder
Avoid these traps. Small errors pile up fast in winter.
- Going to bed hungry.
- Wearing damp clothes to sleep.
- Compressing a down bag with too many tight layers.
- Sleeping right on the tent floor without a proper pad.
- Over-tight boots or socks that block blood flow.
How Do You Cook and Get Water in Winter?
Winter cooking needs extra thought. Water may be ice or snow. Stoves act different in the cold. Fuel use rises. Snow looks endless, but it has lots of air. It takes time and fuel to turn it into water. Plan for that. Block wind. Keep your hands safe. Keep your stove steady and warm.
Stove types and cold performance
Not all stoves love the cold. Know how yours will act at 10°F (-12°C) and in wind.
- Upright canister stoves struggle below freezing. Fuel does not vaporize well.
- Inverted canister stoves feed liquid gas and work better in cold.
- White gas (liquid fuel) stoves work well in deep cold and at altitude. They need priming.
- Alcohol stoves are simple but weak in winter. Not ideal for snow melting.
- Solid fuel can be a backup, not a main winter stove.
Fuel planning for snow melting
Melting snow takes time and fuel. Build a margin in your plan.
- For basic cooking (no snow melt), plan about 1–2 oz (30–60 g) of canister fuel per person per day, more in wind.
- For melting snow, plan 4–8 oz (120–240 g) per person per day, depending on temp and efficiency.
- Liquid fuel: 8–12 oz (240–355 ml) per person per day can be a good start when melting lots of snow.
- Bring a bit more than you think you need. Cold adds surprise costs.
Safe stove setup in snow and tents
Stove safety is life safety in winter. Fires and fumes are real risks.
- Build a flat, insulated stove base. A wood board, pot lid, or firm snow block helps.
- Use a windscreen with care. Keep safe distance to avoid overheating canisters.
- Never run a stove in a closed tent. Carbon monoxide can kill. If you must cook in a vestibule due to a storm, vent well, keep the flame outside the main body, and watch for flare-ups.
- Keep fuel bottles and canisters off snow if possible to maintain pressure.
- Wear gloves with grip. Keep a small fire extinguisher mindset: water and snow nearby.
Melting snow for water
Melting snow is simple but slow. Do it right to save fuel.
- Start with a little liquid water in the pot. It helps avoid scorching snow.
- Add small amounts of snow and let it melt before adding more.
- Stir often. Keep the lid on to save heat.
- Never eat snow to hydrate. It lowers core temp and can make you colder.
Keep water from freezing
Your hard-earned water can freeze by dawn. Protect it.
- Use insulated bottle covers. DIY with a sock and foam works too.
- Store bottles upside down. Ice forms at the top first.
- Keep a bottle in your sleeping bag overnight if needed.
- Avoid hydration tubes in deep cold. If you use one, blow water back after sips.
Food ideas for winter
Choose foods that are easy to cook and eat with gloves. Favor high-calorie meals.
- Breakfast: Instant oats with nuts, butter, and dried fruit. Breakfast burritos pre-wrapped in foil to reheat.
- Lunch: Cheese, cured meats, tortillas, nut butters, and energy bars that do not freeze rock-hard.
- Dinner: One-pot meals like ramen with added dehydrated veggies, instant rice with curry, mac and cheese with tuna.
- Snacks: Chocolate, trail mix, jerky, nut butters, cookies.
- Hot drinks: Cocoa, tea, broth. Add a pinch of salt to help hydration.
Winter Safety: Frostbite, Hypothermia, and Weather
Cold injuries and weather shifts are the main risks in winter. The good news: You can manage most of them with skill and habits. Learn signs early. Act fast. Keep your group talking. If someone gets quiet, check in.
Frostbite basics
Frostbite is freezing of skin and tissue. It starts small and can get worse fast.
- Stages: Frostnip (reversible), superficial frostbite, deep frostbite.
- Common spots: Fingers, toes, nose, ears, cheeks.
- Signs: Numbness, white or grayish skin, waxy feel, hard skin.
- Actions: Rewarm gently in warm (not hot) water if refreezing risk is gone. Do not rub. Protect from friction.
- Prevention: Keep skin covered. Rotate gloves and socks. Avoid tight boots.
Hypothermia recognition and response
Hypothermia is a drop in core body temp. It can happen above freezing if you are wet and tired.
- Mild signs: Shivering, slurred speech, clumsy hands, apathy.
- Moderate to severe: Violent shivering or shivering stops, confusion, stumbling, slow pulse.
- Actions: Shelter the person from wind and wet. Add dry layers. Give warm, sweet drinks if alert. Use shared warmth. Call for help if severe.
- Prevention: Stay dry. Eat and drink often. Add layers early.
Navigation and short daylight
Short days shrink your margin. Get where you need to be before dark.
- Start early. Set a turn-around time and keep it.
- Carry a headlamp with fresh batteries and a spare.
- Use map, compass, and GPS. Snow hides trails.
- Track time for camp chores. Pitching in daylight is safer and easier.
Weather forecast and on-trail updates
Read the full forecast, not just the low temp. Look for wind, snow, and storm timing.
- Check multiple sources for your specific elevation.
- Note wind speed and direction. Wind changes campsite choices.
- Watch for storm fronts, warming events, and temperature swings.
- On-trail, read the sky. Rising wind and falling pressure often signal change.
Emergency shelter and kit
A small emergency kit can bridge you to safety. Test it at home.
- Group shelter or bothy bag for fast wind and snow protection.
- Lightweight bivy or emergency bivy for each person.
- Repair tape, cord, spare stakes, and a small sewing kit.
- Fire starters that work when wet. Store in multiple pockets.
- Extra high-calorie rations in a sealed bag.
Avalanche Awareness for Winter Campers
If you plan to travel in or near snow-covered mountains, learn avalanche basics. You do not need to be a skier to get caught. Snowshoers and hikers face the same hazards. Terrain choice is the number one safety tool.
Read the avalanche forecast
The daily forecast is your starting point. It tells you the problem types and where they live.
- Danger ratings: Low, Moderate, Considerable, High, Extreme.
- Problem types: Wind slab, storm slab, persistent slab, deep slab, wet loose, dry loose, cornices.
- Elevation bands and aspects: Note which slopes are risky.
- Travel advice: Forecasters often give clear go/no-go tips.
Basic terrain recognition
You can avoid many hazards with simple terrain rules.
- Most slab avalanches occur on slopes of 30–45°. Learn to estimate angles.
- Avoid runout zones below steep slopes, even if you are on flat ground.
- Mind terrain traps: gullies, creek beds, cliffs. Small slides can be deadly there.
- Cornices can break far back. Give corniced ridges a wide berth.
Essential avalanche gear and training
Gear is only useful if you have training and partners. Practice often.
- Beacon, shovel, probe for each person. No exceptions in avalanche terrain.
- Practice beacon searches in real snow with your group.
- Take a formal avalanche course (AIARE or similar).
- Partner travel: Spread out on suspect slopes. Watch each other from safe zones.
Human factors and go/no-go
Most accidents have a human side. You can control this with discipline.
- Beware of groupthink and “summit fever.”
- Use pre-set decision points. Turn back if red flags appear.
- Slow down when you see recent avalanches, rapid warming, or whumphing sounds.
- Choose conservative routes when doubt creeps in.
Leave No Trace in Winter
Snow is not a blank check. Your choices still affect land and wildlife. Leave No Trace rules still apply in winter. Snow can hide harm, but it also preserves it until spring.
Travel on durable surfaces
Snow is usually a durable surface when deep and frozen.
- Stay on snow where it covers plants and soil.
- In thin snow, step on rocks, gravel, or established paths.
- Avoid trampling fragile alpine plants that poke through.
Waste management in snow
Plan for human waste before you go. Rules vary by area.
- Use wag bags where required. Pack out all waste.
- If catholes are allowed, dig to soil if possible. Do not leave waste in shallow snow.
- Pack out toilet paper and hygiene products in a sealed bag.
- Keep kitchen greywater small. Strain food bits and pack them out.
Campfires in winter
Campfires are often wet, hard, and damaging in winter. Consider stoves instead.
- If fires are allowed, use existing fire rings or build on a fire pan.
- Do not burn green wood or break branches from trees.
- Fully extinguish. Scatter cold ashes well away from snowmelt zones.
Respect wildlife in harsh seasons
Winter is hard on animals. Do not add to their stress.
- Give wide space to tracks, dens, and feeding zones.
- Store food well. Do not feed wildlife.
- Keep noise low. Travel in small groups where possible.
Winter Camping Checklist
Use this winter camping checklist to plan your first or next trip. Adjust it to your route, weather, and group. Pack light, but not at the cost of safety.
- Shelter
- Four-season tent or strong three-season tent for mild winter
- Snow stakes or deadman anchors; extra guy lines
- Repair kit: tape, cord, pole sleeve
- Emergency bivy or group shelter
- Sleep system
- Sleeping bag rated for expected lows (comfort or lower-limit)
- Sleeping pad(s) with total R-value 4.5–6+
- Sleeping bag liner (optional for extra warmth)
- Dry sleep base layer, warm socks, hat
- Clothing
- Base layers (merino or synthetic)
- Mid layers (fleece, synthetic puffy, or down for dry cold)
- Insulated jacket (synthetic or down)
- Waterproof-breathable shell jacket and pants
- Gloves: liners, insulated gloves or mittens, spare set
- Warm hat, neck gaiter, balaclava
- Wool or synthetic socks; spares
- Gaiters for deep snow
- Insulated, waterproof winter boots
- Kitchen and water
- Stove suited to cold (inverted canister or liquid fuel)
- Fuel with extra for melting snow
- Lighter and weatherproof matches
- Pot with lid; insulated mug and bowl
- Spoon; small cutting tool
- Food with extra high-calorie snacks
- Water bottles with insulated covers
- Filter or chemicals (backup) for non-frozen sources
- Navigation and safety
- Map, compass, GPS; headlamp with spare batteries
- First aid kit; blister kit
- Knife or multi-tool
- Whistle, mirror, small repair kit
- Personal locator beacon or satellite messenger (optional but useful)
- Snow travel gear (as needed)
- Snowshoes or skis with skins
- Trekking poles with snow baskets
- Avalanche gear: beacon, shovel, probe (in avalanche terrain)
- Extras
- Sunglasses or goggles with UV protection
- Sunscreen and lip balm
- Hand warmers (optional)
- Small sit pad
- Trash bags; wag bags where required
Sample One-Night Winter Camping Plan
Use this sample plan for a simple, safe first trip. Tweak it to your area and weather. The goal is a calm, fun night with room to learn.
- One day before
- Check the weather forecast. Note wind, precip, and low temps.
- Pick a campground with winter access or a trail near a road.
- Tell a friend your plan and return time.
- Pack your winter camping checklist. Test your stove in the cold.
- Morning of day 1
- Eat a big breakfast. Fill bottles with hot water.
- Drive to the trailhead or campground. Arrive early for daylight.
- Start hiking cool, not cold. Adjust layers in the first 10 minutes.
- Midday
- Snack often. Sip warm drinks from a thermos if you have one.
- Scout a sheltered campsite by early afternoon.
- Mid-afternoon
- Pack down a tent pad. Let it set.
- Pitch the tent. Set guy lines. Open vents slightly.
- Lay out sleeping pads and fluff sleeping bags.
- Build a stable stove platform. Start melting snow if needed.
- Evening
- Cook a warm, easy dinner. Drink hot liquids.
- Change into dry sleep base layers.
- Do a few light movements to warm up, then get in the bag.
- Keep a hat and headlamp handy. Store water bottles upside down.
- Morning of day 2
- Boil water for a hot drink and breakfast.
- Shake frost off the tent. Pack dry items first.
- Backtrack to the car. Do a short check-in on what worked.
- After the trip
- Dry all gear at home. Note any items to upgrade or fix.
- Plan the next trip with one new skill or distance added.
Frequently Asked Questions
Q: Can a three-season tent work for winter camping?
A: Yes, in mild, dry winter weather with little wind and no heavy snow. Pick a sheltered site. Use strong guy lines and good anchors. Keep vents open to reduce condensation.
Q: How cold is too cold for my sleeping bag?
A: Check the comfort or lower-limit rating as your guide. If the forecast is near the lower-limit, add a liner or more clothing. Use a higher R-value pad. Eat a warm snack before bed.
Q: Do I need snowshoes?
A: If you expect deep, soft snow, yes. Snowshoes help you float and save energy. If the trail is packed and icy, microspikes or crampons may be better. Match traction to conditions.
Q: What stove is best for winter camping?
A: Inverted canister or liquid fuel stoves work best in cold. Upright canister stoves struggle in freezing temps. If you will melt lots of snow, consider a liquid fuel stove.
Q: How do I keep my phone and batteries alive?
A: Cold drains batteries fast. Keep electronics close to your body. Use a small battery bank. Turn phones to airplane mode. Keep headlamp batteries warm in a pocket.
Q: Is it safe to cook in a tent vestibule?
A: It is risky. Only do it in a storm, with caution, and with strong venting. Keep the flame outside the inner tent. Watch for carbon monoxide and fire risk.
Q: How do I prevent condensation in my tent?
A: Vent the tent even in cold weather. Keep wet gear out of the sleeping area. Avoid boiling water inside the tent body. Shake frost off in the morning.
Q: What is the ideal R-value for winter camping?
A: Aim for a total R-value of 4.5–6+ for snow or frozen ground. Combine a foam pad with an insulated inflatable pad to reach that number.
Q: How do I dry boots overnight?
A: Remove liners if possible. Loosen laces. Place boots upside down near the tent door, not in your sleeping bag. Use dry socks and move your feet often to keep blood flowing.
Q: What are the first signs of hypothermia?
A: Shivering, slurred speech, clumsy hands, and apathy. Act fast. Add dry layers, shelter from wind, and give warm, sweet drinks if the person is alert.
Conclusion
Winter camping asks more from you. It also gives more back. You learn to read wind and cloud. You learn to listen to your body. You gain skill and calm. With the right gear and plan, cold nights can feel safe and sweet. You slip into a warm bag after a long, bright day. You wake to a silent world and a soft pink light on snow. Start small. Choose simple goals. Build habits that keep you warm, dry, and fed. Soon you will see winter not as a wall, but as a door. Through it lies quiet trails, clear stars, and a proud smile you can feel in your bones.