How to Keep Food Cold While Camping for a Week? 6 Pro Hacks for Week-Long Cold Storage
Heading out to nature for a week-long camping trip is an adventure, but keeping your food cold and safe can be a real challenge. The best way to keep food cold while camping for a week is to use a combination of high-quality coolers, block ice, strategic packing, and smart planning.
You need to prepare your cooler in advance, freeze as much as possible, and minimize how often you open it. Choosing the right spot for your cooler and using insulation tricks can make a big difference. Read on for a complete guide with detailed steps, clever tips, and common mistakes to avoid—so you can enjoy your meals without worrying about spoiled food or health risks.
Why Keeping Food Cold Matters
When you’re camping for several days, food safety is not just about taste—it’s about health. Bacteria can multiply quickly between 40°F and 140°F, the so-called “danger zone.” Eating food that’s not kept cold enough can lead to food poisoning, which is the last thing you want in the middle of nowhere. Keeping food cold helps prevent spoilage, preserves freshness, and makes your trip much more enjoyable.
Choosing The Right Cooler
Not all coolers are created equal. For a week-long trip, invest in a high-performance cooler. Hard-sided, rotomolded coolers (like Yeti or Coleman Xtreme) can keep ice for up to 7 days or more, while budget coolers may only last 1–2 days. Look for features like thick insulation, a tight lid seal, and sturdy latches. Soft coolers are lighter but lose cold fast and are better for day trips.
| Cooler Type | Ice Retention (Days) | Best For |
|---|---|---|
| Rotomolded Hard Cooler | 5-10 | Week-long trips |
| Standard Hard Cooler | 2-4 | Short trips |
| Soft Cooler | 0.5-1 | Day trips |
A common mistake is to buy the cheapest cooler and expect it to last all week. If you camp often, a high-end cooler is a smart investment.
Types Of Ice And How To Use Them
Ice isn’t just ice. The kind you use will affect how long your food stays cold.
- Block Ice – Large, solid blocks melt slower than cubes. Freeze water in milk jugs or buy commercial blocks if possible.
- Ice Cubes – Good for filling gaps and quick chilling, but melt faster.
- Dry Ice – Extremely cold (−109.3°F), lasts longer, but requires caution (use gloves, ventilate coolers).
- Reusable Ice Packs – Convenient, mess-free, but only as good as their size and quality.
- Frozen Bottles – Freeze water bottles or juice cartons; they keep things cold and give you cold drinks as they thaw.
Layering block ice on the bottom and cubes or packs on top works well. Don’t forget, dry ice can keep food frozen for days, but never use it in an airtight cooler—you need ventilation.
How To Keep A Cooler Cold While Camping? Secret Of My Cooler at 34°F for a 4-Day Trip
Pre-chilling Your Cooler
A tip many beginners miss: pre-chill your cooler before packing. The insulation in coolers works best when it’s already cold. The night before, fill your cooler with ice or frozen water bottles, then dump them before you pack your food. This removes heat that would waste your fresh ice. If you skip this, your ice melts much faster.
Freezing Food Before You Pack
Frozen food acts like ice, keeping everything colder longer. Freeze meat, pre-cooked meals, and even bread before you pack them. Not only does this extend freshness, it helps maintain a low temperature in your cooler. For the first few days, eat items that need to stay frozen.
As things thaw, use them later in the week.
Packing Your Cooler Efficiently
How you pack your cooler makes a big difference. Here’s a simple system:
- Layer ice on the bottom – Blocks or frozen bottles first.
- Pack by meal order – Place food you’ll eat last on the bottom, and first meals on top.
- Fill gaps – Use ice cubes or packs to fill all empty spaces. Air pockets speed up melting.
- Separate raw and cooked foods – Use bins or bags to prevent cross-contamination.
- Add a final ice layer on top – Cold air sinks, so top ice improves cooling.
Packing tight keeps cold in and air out. If you open the cooler, do it quickly and only when necessary.
Double Cooler Strategy
For week-long trips, two coolers can outperform one. Use one for drinks (opened often) and one for food (opened less). This keeps your food cooler colder much longer. Drinks don’t need to stay as cold, and people tend to open the drinks cooler more often.
If you only have one cooler, try storing drinks outside of it, in a shaded stream or with their own ice pack.
Where To Store Your Cooler At Camp
Location matters. Keep your cooler in a shady spot, out of direct sun. Cover it with a wet towel or reflective blanket to block heat. At night, move the cooler under your vehicle, picnic table, or a tree. Avoid placing it on hot surfaces like rocks or car trunks—these radiate heat.
If you’re camping near a river or lake, you can partially submerge your cooler (if it floats and seals well) for extra cooling. Just secure it tightly so it doesn’t drift away.
Insulation Tricks That Make A Difference
Every little bit helps when fighting the heat. Try these:
- Reflective blankets: Wrap your cooler in an emergency blanket to reflect sunlight.
- Foam padding: Place the cooler on a foam mat to block ground heat.
- Extra insulation: Use towels, sleeping bags, or jackets to cover the cooler, especially at night.
- DIY cooler: If you have room, nest a smaller cooler inside a larger one with ice between them.
These tricks can add several hours or even a day to your ice life.
Smart Food Choices For Long Trips
Not all food needs to be kept cold. Choose a mix of shelf-stable and chilled items. Canned beans, tuna, pasta, and dried fruits can last all week without a cooler. For fresh items, focus on foods that resist spoilage—hard cheeses, cured meats, carrots, and apples.
High-risk foods like mayonnaise, eggs, and dairy need special care. If you’re not sure something will last, pack a backup meal that doesn’t need refrigeration.
How To Tell If Food Is Still Safe
Don’t rely only on how cold your cooler feels. A fridge thermometer inside your cooler shows the real temperature. Food should stay at or below 40°F (4°C). If you see readings above this, use high-risk foods soon or discard them.
If you notice off smells, sliminess, or discoloration, don’t risk it. When in doubt, throw it out—food poisoning is never worth it.
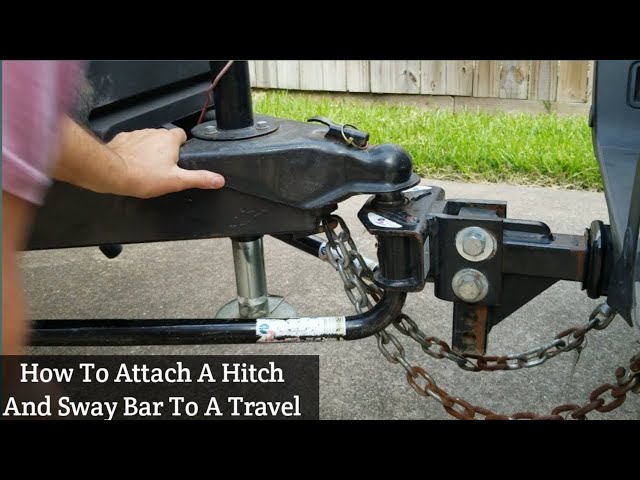
How To Hook Up Camper Sway Bars? (And How to Fix Your Bar Setup in 10 Minutes)
Common Mistakes To Avoid
Many campers make the same errors, which can ruin a trip. Watch out for these:
- Packing a warm cooler or warm food
- Opening the cooler too often
- Storing coolers in the sun
- Not enough ice or too much air space
- Mixing raw meat with ready-to-eat foods
- Forgetting a backup plan if ice runs out
One overlooked mistake: not considering how fast ice melts at high altitudes or in very hot regions. Plan for more ice if you’re camping in extreme heat.

Real-world Example: Seven-day Cooler Success
Imagine you’re camping with four friends. You pack a 65-quart rotomolded cooler with:
- 2 blocks of ice (10 lbs each)
- 6 frozen water bottles
- Frozen steaks, chicken, and chili for the first three days
- Hard cheese, cured meats, and fruits for later
- Fresh vegetables in sealed bags
- Reusable ice packs on top
You store drinks in a separate soft cooler, replenish ice once on day 4 at a local store, and keep both coolers in the shade, covered. A fridge thermometer shows 38–40°F all week. By the end, your perishable food is still safe, and you avoid any food waste or health issues.
Table: How Long Common Foods Stay Cold In A Well-packed Cooler
| Food Type | Safe at 40°F (Days) | Notes |
|---|---|---|
| Raw Meat | 2-3 | Use first, keep frozen as long as possible |
| Cooked Meals | 3-4 | Freeze ahead for extra safety |
| Dairy (Milk, Cheese) | 3-5 | Hard cheese lasts longer than soft |
| Fresh Produce | 5-7 | Keep dry to prevent spoilage |
| Eggs | 5-7 | Store in original carton, keep cold |
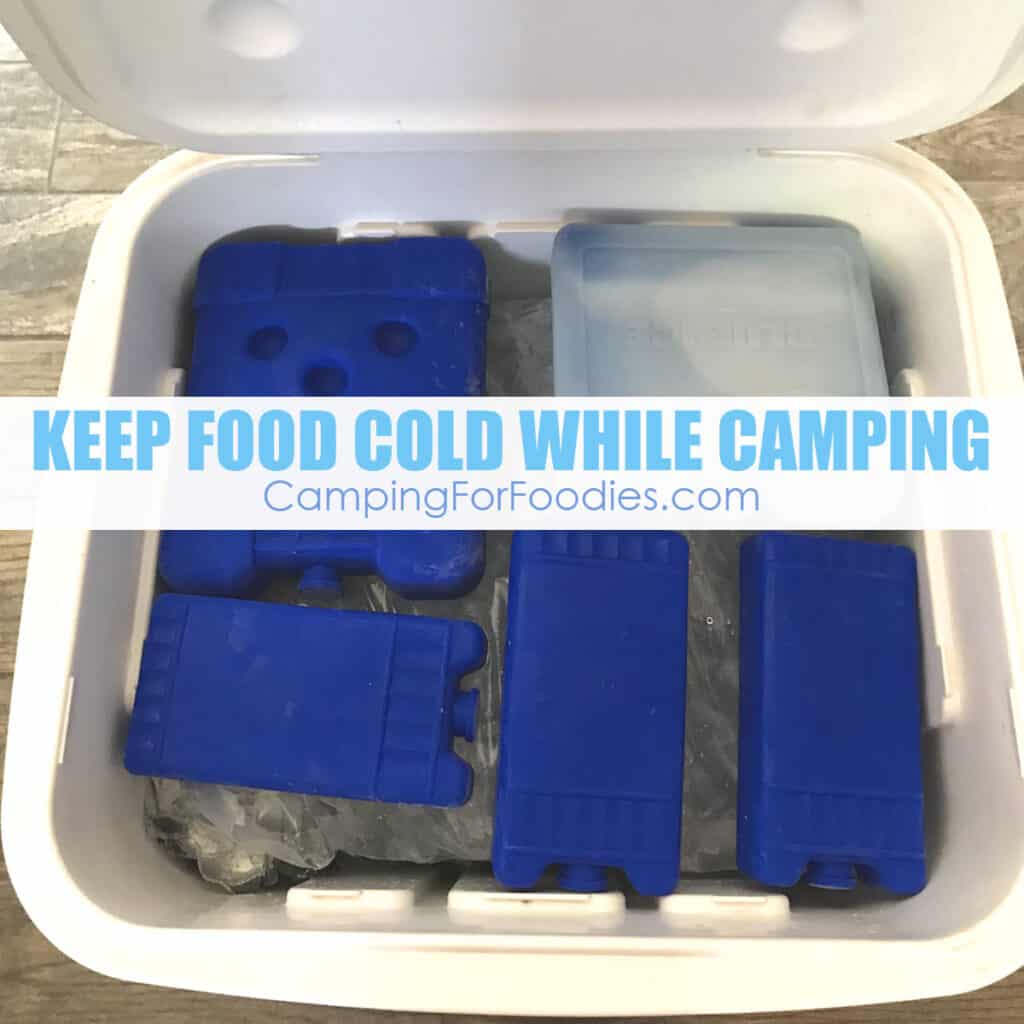
Table: Ice Retention Tips And Their Effectiveness
| Tip | Extra Ice Life (Hours) | Effort Level |
|---|---|---|
| Pre-chilling cooler | 8-12 | Low |
| Using block ice | 12-24 | Medium |
| Storing in shade | 6-10 | Low |
| Reflective cover | 4-8 | Low |
| Two-cooler method | 16-36 | Medium |
Extra Tips For Success
- Plan meals carefully so you don’t bring more perishables than your cooler can handle.
- Bring spare ice or know where you can buy more mid-trip.
- Keep a small notepad to track what’s in your cooler and when you packed it.
- Use zip-top bags to keep ice melt from soaking your food.
- If car camping, consider a 12V portable fridge as a long-term investment.
For more on food safety and camping, the USDA Food Safety and Inspection Service has valuable guidelines.
Frequently Asked Questions
How Much Ice Do I Need For A Week-long Camping Trip?
Plan for about one pound of ice per quart of cooler space for a week. For a 50-quart cooler, that’s 40–50 pounds of ice, including frozen food and ice packs. If it’s hot, bring extra or plan to restock mid-week.
Can I Use Dry Ice In A Cooler With Regular Ice?
Yes, but keep dry ice separate from regular ice and food. Dry ice will freeze anything it touches, so wrap it in cardboard or newspaper. Never seal your cooler airtight with dry ice inside—venting is necessary.
What Foods Should I Avoid Bringing Camping?
Avoid foods that spoil quickly, like mayonnaise salads, soft cheeses, and uncooked shellfish. If you don’t have reliable cooling, stick to canned, dried, or cured foods for safety.
How Often Should I Check The Temperature In My Cooler?
Check at least twice a day—morning and evening. Use a fridge thermometer inside the cooler. If it goes above 40°F, eat or discard high-risk foods soon.
What’s The Best Way To Keep Drinks Cold Without Using Up Cooler Space?
Freeze drinks ahead of time or store them in a separate cooler. You can also cool them in a stream, or wrap them in a wet towel and place them in the shade for basic cooling.
Camping with cold, safe food for a week is absolutely possible with the right gear and strategies. Preparation is key—think ahead, pack smart, and you’ll enjoy every meal as much as the adventure itself.