What to Use to Seal a Camper Roof: Top RV Sealants That Actually Work
What To Use To Seal A Camper Roof?
Owning a camper brings the freedom to travel anywhere, but it also comes with the responsibility of keeping your vehicle safe from water leaks and weather damage. One of the most important tasks for camper owners is sealing the roof.
If you notice water stains inside, cracks on the roof, or feel a draft, it’s time to take sealing seriously. Choosing the right sealant is not just about stopping leaks for now; it’s about protecting your investment for years to come.
This article will guide you step-by-step through what to use to seal a camper roof, why the right choice matters, and how to make the process easier and more reliable.
The Best Materials To Use For Sealing A Camper Roof
The most effective products to seal a camper roof are RV roof sealants like self-leveling lap sealant, butyl tape, silicone-based sealant, urethane sealant, and liquid rubber coatings. Each type works best for specific roof materials and situations.
Let’s look at the main types of sealants and coatings you should consider:
Self-leveling Lap Sealant
This is the most commonly used sealant for RV roofs, especially around vents, skylights, and seams. Self-leveling lap sealant spreads out after application, filling cracks and gaps by itself. This makes it easy for beginners to use and ensures a strong seal.
One popular example is Dicor’s self-leveling sealant, which is designed for horizontal surfaces. It’s flexible, UV-resistant, and bonds well to rubber, TPO, fiberglass, and aluminum roofs.
Butyl Tape
Butyl tape is a sticky, flexible tape that creates a waterproof barrier between roof joints, seams, or around fixtures. It’s easy to apply and is often used together with lap sealant for extra protection. Butyl tape is especially helpful for sealing under roof vents, antennas, and air conditioners before adding a liquid sealant on top.
Silicone-based Sealant
Silicone sealant is highly flexible and waterproof. It works well on both horizontal and vertical surfaces, making it good for corners and side seams. However, some RV roof materials (like EPDM rubber) do not bond well with silicone, so always check compatibility before use.
Urethane Sealant
Urethane sealants are known for their strength and flexibility. They bond well to fiberglass and metal roofs and can handle movement and vibration. These sealants are usually more expensive but offer long-lasting protection.
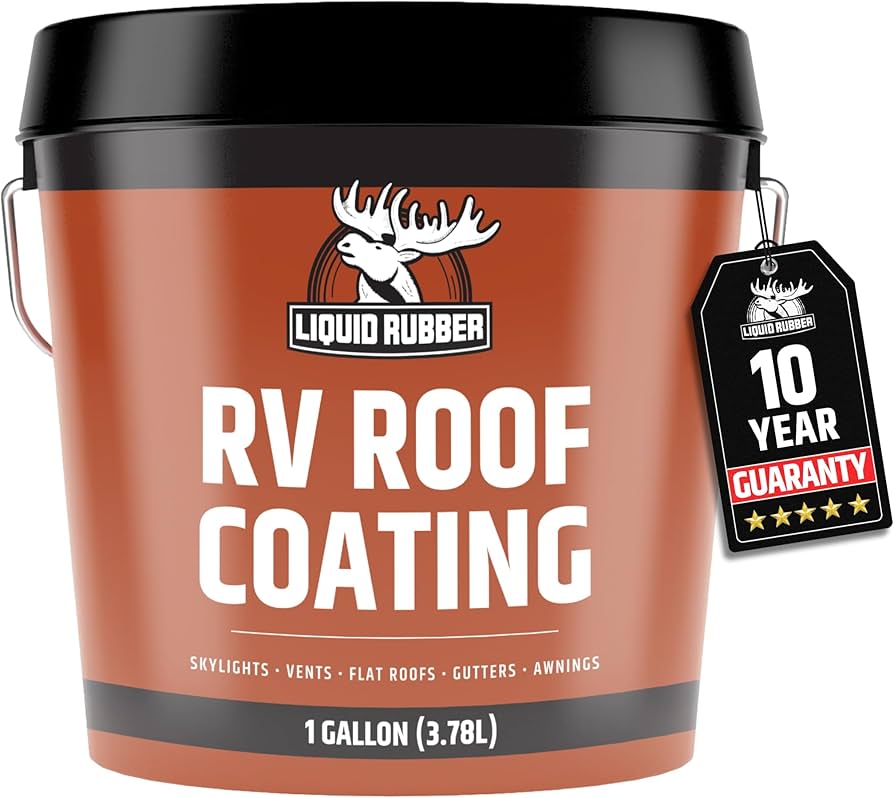
Liquid Rubber Roof Coating
If your camper’s roof is older or has many small cracks, liquid rubber coatings (like RV Roof Magic or Liquid Roof) create a seamless, waterproof layer across the entire surface. This type of sealant is brushed or rolled on and cures to a strong, flexible membrane. It’s best for complete roof resealing jobs rather than spot repairs.
Acrylic Roof Coating
Acrylic coatings are another option for full-roof sealing. They’re UV-resistant and help reflect sunlight, which keeps your camper cooler. However, acrylics are not as flexible as rubber coatings and may crack if the roof bends or vibrates a lot.
How To Choose The Right Sealant For Your Camper Roof
To choose the best sealant, you must know your camper’s roof material and the type of repair needed.
Matching Sealant To Roof Material
Most camper roofs are made from one of the following materials:
- EPDM Rubber (Ethylene Propylene Diene Monomer): Flexible, black or white rubber
- TPO (Thermoplastic Olefin): White, plastic-like, slightly shiny
- Fiberglass: Hard, smooth, often white or off-white
- Aluminum/Metal: Shiny, metallic surface
Not every sealant works with every roof type. Here’s a quick reference:
| Roof Material | Compatible Sealants |
|---|---|
| EPDM Rubber | Self-leveling lap sealant, butyl tape, liquid rubber |
| TPO | Self-leveling lap sealant, urethane sealant, butyl tape |
| Fiberglass | Urethane sealant, silicone-based sealant, butyl tape |
| Aluminum/Metal | Butyl tape, urethane sealant, silicone-based sealant |
Tip: Always check your camper owner’s manual or the label on your roof for material information.
Spot Repair Or Full Reseal?
- Use self-leveling lap sealant or butyl tape for small cracks, seams, or around vents.
- Use liquid rubber or acrylic coatings for large cracks, worn roofs, or if you want to reseal the whole roof for maximum protection.
Weather, Flexibility, And Uv Resistance
If you camp in very hot, cold, or sunny areas, choose a sealant with strong UV resistance and the ability to stay flexible. UV rays and temperature swings can quickly break down cheap or incompatible sealants, leading to new leaks.
Drying And Curing Time
Some sealants cure in just a few hours, while others take a day or more. Plan for good weather, as rain during curing can ruin the seal.

Step-by-step: How To Seal A Camper Roof
Sealing a camper roof is a DIY job for most owners. Here’s how to do it safely and effectively:
1. Clean The Roof
Remove dirt, dust, leaves, and old sealant from the area you want to repair. Use a broom, then a mild soap and water solution. Allow the surface to dry completely. If you skip this step, the new sealant may not stick.
2. Remove Damaged Sealant
Use a plastic scraper or putty knife to gently remove loose or cracked old sealant. Be careful not to damage the roof material.
3. Inspect For Damage
Check for soft spots, cracks, or holes. If you find any structural damage, fix it first before sealing. Small holes can be patched with butyl tape or sealant; larger damage may need a professional.
4. Apply Butyl Tape (if Needed)
For areas around vents or seams, press butyl tape firmly along the joint. Overlap the edges for a better seal.
5. Apply Sealant
- For self-leveling lap sealant: Use a caulking gun to run a continuous bead over seams or tape. Let it spread out naturally.
- For liquid coatings: Use a brush or roller, following the product’s instructions for thickness and coverage.
6. Smooth And Shape The Sealant
If sealing a vertical surface, use a gloved finger or plastic tool to shape the bead for better appearance and coverage.
7. Allow To Cure
Let the sealant cure for the recommended time before exposing it to water or sun. Most products need at least 24 hours for full strength.
8. Inspect Your Work
Check for missed spots or thin areas. Apply more sealant if needed.
Pro Tip: Always reseal your roof before the rainy season, not after leaks start.
Comparing Popular Camper Roof Sealants
Choosing between brands can be confusing. Here’s a comparison of common sealant types to help you decide:
| Sealant Type | Best For | Pros | Cons |
|---|---|---|---|
| Self-Leveling Lap Sealant | Horizontal seams, vents | Easy to apply, flexible, UV-resistant | Messy if used on vertical surfaces |
| Butyl Tape | Under fixtures, seams | Strong bond, waterproof, no curing time | Needs additional top sealant for UV protection |
| Silicone-Based Sealant | Metal, fiberglass, corners | Very flexible, waterproof | Poor bond to rubber, hard to remove |
| Urethane Sealant | Fiberglass, metal, TPO | Strong, flexible, long-lasting | More expensive, longer cure time |
| Liquid Rubber Roof Coating | Full roof reseal | Seamless, very durable, UV-resistant | Requires prep, higher cost, longer drying |
| Acrylic Coating | Older roofs, UV protection | Reflects heat, easy to apply | Less flexible, may crack over time |
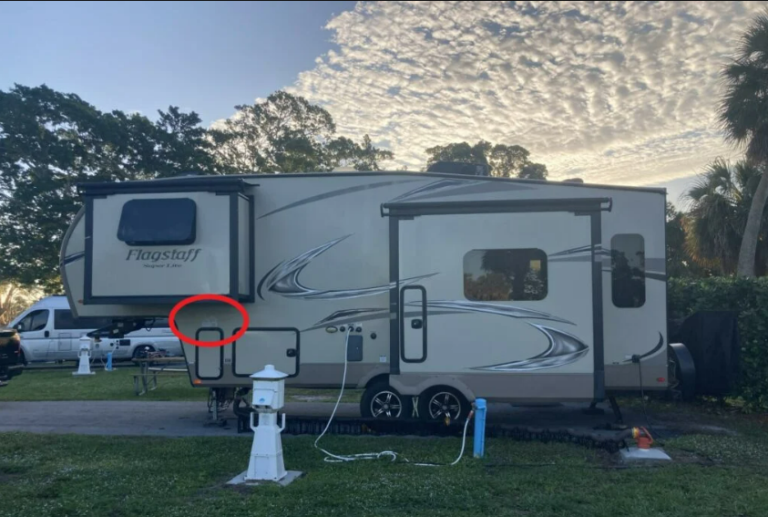
Where Is the VIN Number on a Fifth Wheel Camper? (Complete Owner’s Guide)
Mistakes To Avoid When Sealing A Camper Roof
Even experienced DIYers can make mistakes that lead to leaks later. Watch out for these common errors:
1. Using The Wrong Sealant
Not every sealant works for every roof. Using silicone on an EPDM rubber roof, for example, can cause peeling and leaks.
2. Poor Surface Preparation
Skipping cleaning or not removing old, cracked sealant stops new products from sticking well.
3. Ignoring Weather Forecasts
Applying sealant just before rain, dew, or freezing temperatures can prevent proper curing and ruin the job.
4. Applying Too Thin Or Too Thick
Thin beads may not seal fully; overly thick layers take longer to cure and may crack.
5. Not Checking For Hidden Damage
Sealing over soft spots or rotted roof sections only hides the problem. Always repair structural issues first.
6. Not Allowing Enough Cure Time
Rushing to drive or wash the camper before the sealant is fully cured leads to leaks and wasted effort.
Non-obvious insight: Some sealants (like silicone) leave a residue that makes it hard for any other product to stick later. Avoid using silicone if you think you might switch products in the future.
How Often Should You Reseal Your Camper Roof?
Most camper roofs need a full inspection and touch-up sealing at least once a year. If your camper is stored outside in harsh weather, check it every six months. Look for cracks, peeling, or any sign of water entry. Regular maintenance is much easier and cheaper than fixing water damage later.
Pro tip: Small cracks or gaps often show up first around fixtures, seams, and roof edges. Make these areas a special focus during inspections.
Is Diy Roof Sealing Worth It?
Sealing a camper roof yourself can save hundreds of dollars compared to professional service. Most products are designed for DIY use, and with basic tools you can finish the job in a few hours. However, if your roof is very old, has large holes, or feels soft underfoot, it’s best to call a professional to check for deeper problems.
Example: A professional RV shop might charge $300–$800 for a full roof reseal, depending on roof size and damage. Doing it yourself usually costs $50–$200 for materials.
Tips For A Longer-lasting Seal
- Clean regularly: Dirt and debris break down sealants faster.
- Store under cover: If possible, park your camper indoors or under a cover to protect it from sun and rain.
- Use UV-protective products: Some sealants and coatings have extra UV blockers to help them last longer.
- Touch up as needed: Don’t wait for leaks. If you see small cracks, reseal them right away.
- Keep records: Write down what product you used and when. This helps you track maintenance and avoid mixing incompatible products later.

When To Replace The Whole Roof Instead Of Just Sealing
Sometimes, sealing is not enough. If your camper roof is more than 15 years old, or if you find big soft spots, sagging, or mold inside, you may need a full roof replacement. Sealing can only fix surface issues; structural rot or water inside the roof layers will keep coming back until the damaged material is replaced.
Non-obvious insight: Smelling musty odors inside your camper, even after sealing, often means water is trapped under the roof. This is a sign you need a deeper inspection, not just another layer of sealant.
Real-world Example: Fixing A Persistent Leak
Imagine you find a damp spot on your camper’s ceiling after a rainstorm. You check the roof and see an old vent with cracked sealant. Here’s how you’d fix it:
- Scrape away the old, cracked sealant around the vent.
- Clean the area with soap and water; let it dry completely.
- Lay down butyl tape around the vent base.
- Press the vent back in place and screw it down.
- Apply self-leveling lap sealant over the screws and edges.
- Let it cure for 24–48 hours.
This small repair can save you from major water damage and expensive repairs later on.
Frequently Asked Questions
What Is The Best Sealant For A Rubber Camper Roof?
The best sealant for a rubber camper roof (EPDM or TPO) is usually a self-leveling lap sealant. Products like Dicor or Alpha Systems are popular because they stay flexible, resist UV damage, and bond well to rubber surfaces. For small gaps, butyl tape under the sealant adds extra protection.
Can I Use Regular Silicone Caulk To Seal My Camper Roof?
While silicone caulk is waterproof, it often does not bond well with rubber RV roofs and can be difficult to remove later. Some camper owners use silicone for quick fixes, but it’s not recommended for long-term repairs, especially on EPDM roofs. Always choose a sealant made for RVs and your specific roof type.
How Long Does Camper Roof Sealant Last?
Most quality RV roof sealants last 3–5 years if applied correctly and protected from extreme weather. However, small touch-ups may be needed every year. Regular inspection and cleaning help extend the life of your sealant.
Can I Walk On My Camper Roof While Sealing It?
Some camper roofs are strong enough to walk on, while others can be damaged by your weight. Check your owner’s manual or look for support beams. Use a piece of plywood to spread your weight if needed, and always walk carefully to avoid causing cracks or dents.
Where Can I Find More Information About Rv Roof Sealants?
For in-depth product reviews and technical details, you can visit the RV Repair Club. They offer guides and videos on all aspects of camper maintenance.
Sealing your camper roof is one of the best things you can do to protect your vehicle and enjoy stress-free adventures. With the right product, good preparation, and regular maintenance, you can keep your roof watertight for many years. Don’t wait for leaks—inspect and reseal your camper roof before the next rainy season, and you’ll have peace of mind wherever the road takes you.